How to Recover Your Deleted Photos on Mac
Accidentally deleting a file or photo on your Mac OS can be truly distressing. But fret not, for we’ve got you covered. Luckily it is pretty simple to recover deleted photos on mac, particularly when you realize your error quickly. In the following section, we’ve come up with a detailed, step by step guideline that’ll assist you on recovering the deleted stuff on mac. The steps are simple and all you have to do is follow the instructions carefully to get your photos back right away.
Recovering your deleted photos on Mac
Unlike other leading operating systems, Mac gives you a grace period of 30 days for recovering your deleted photos. So if you happen to realize your mistake during this time, you can easily check the recently deleted album and get your photos recovered. Following is a list of steps that you’ll have to follow.
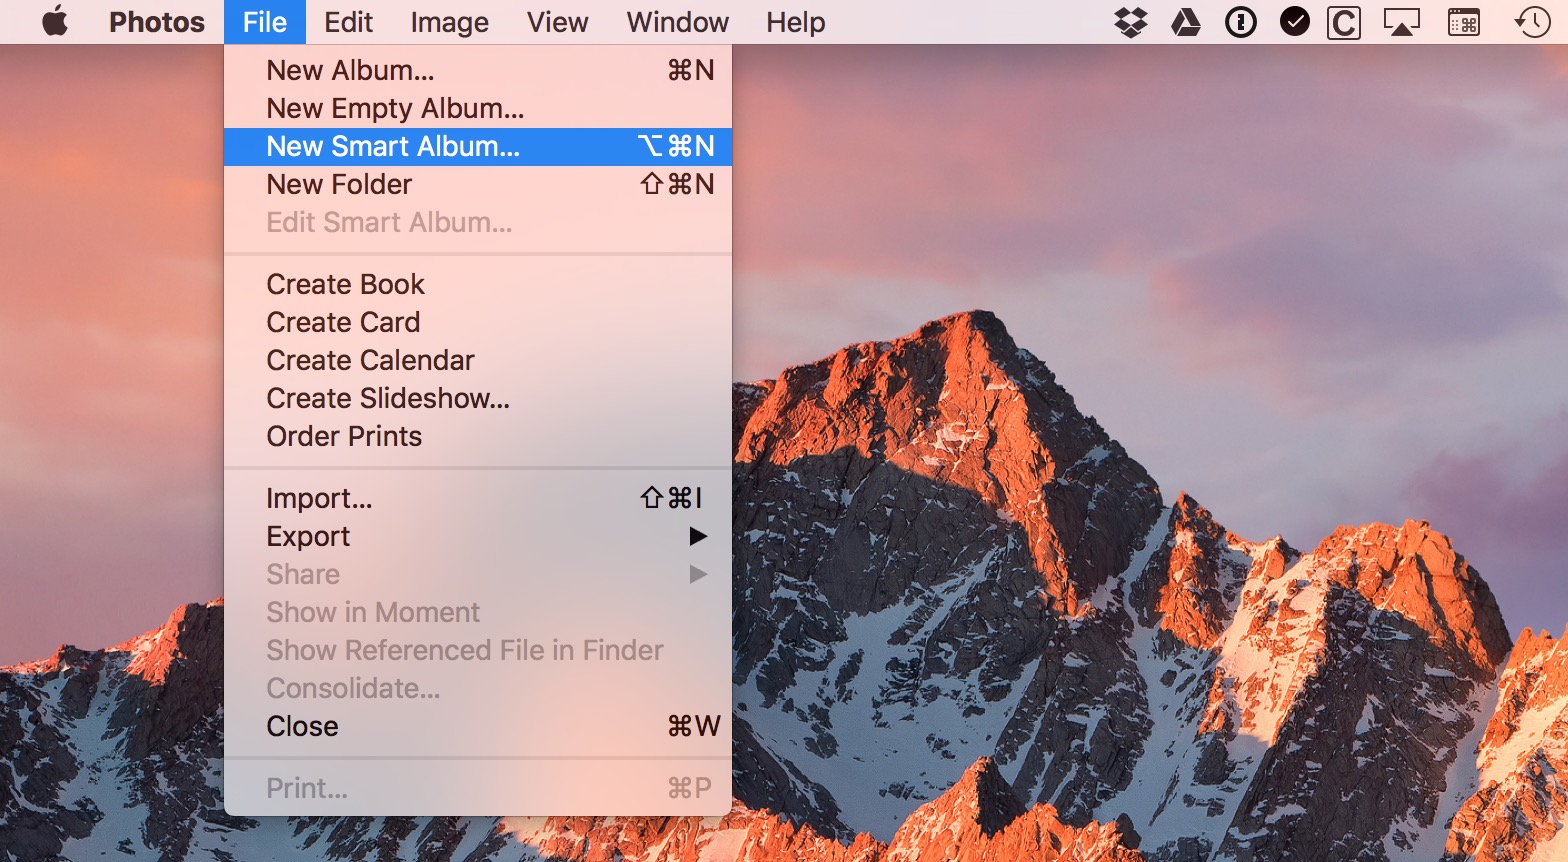
You can start by selecting the option called ‘Albums’ on the uppermost section of the notification bar. There, you will find another option called ‘Recently Deleted’. Double click on that option. Once you do this, you will find a list of the photos and videos that you have recently deleted. Additionally, you’ll also find a caption under each item indicating the time since which they have been deleted. After you find this, select the photos that you want to be recovered and click on the ‘Recover’ option on the upper right corner of the notification bar.

Recovering your Mac photos is even simpler when you have the photos synced with the iCloud Photo Library because the library automatically syncs all the photos you take via iPhone or iPad. This means, every photo will have several digital copies. So even if you delete a photo from one device, it will be available on the other devices and can be easily recovered.
However, if you click on the ‘delete from all devices’ option on your iCloud, things will be tad more complicated. In that case, you will have to download some free software for recovering the deleted photos.
Recovering you deleted photos with iPhoto
Although recovering your photos is simpler with iCloud, you can still get them back with the old iPhoto (which was replaced by Apple in 2015). In this case, if your photo is deleted from a program it will automatically be sent to the trash folder of iPhoto. Unlike the updated version, you will not find them in your macOs trash. Now, in order to recover your photos right away, follow these three simple steps.
To begin with, open the iPhoto app and click on the trash option. You will find this option in the sidebar menu. Once you locate this option, choose the photo you want to recover and click it while pressing the control option. Finally, click on the photo option in your sidebar to check the images. As you do this, your file will be automatically sent to the library of iPhoto.
So now that you know about the free way to recover deleted photos mac, follow the steps and save your old photos right away.
How to recover deleted pictures?
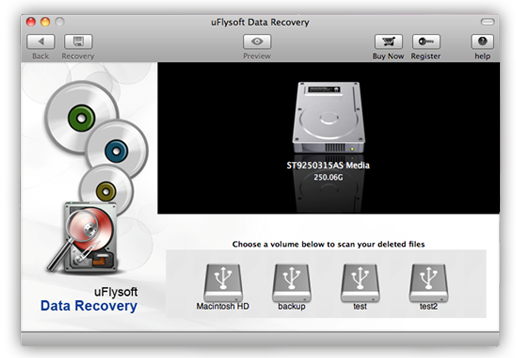
The easiest way to do deleted files recovery is to try Uflysoft Data Recovery for Mac, a powerful data recovery tool using advanced recovery algorithm. It can deeply scan your machine to look for the lost files. Once found, it’s pretty easy to perform pictures recovery even within minutes. Only three steps:
1. Scan your machine to seek lost files;
2. Select which type of files you want to recover;
3. Recover the founded files easily.

